Hiking the Grand Canyon: The Kaibab Trail to Skeleton Point
Disclaimer: We are not paid to promote any restaurant, hotel, activity, product, or attraction. All opinions are subjective and based on our personal experience. Your experience may be different.
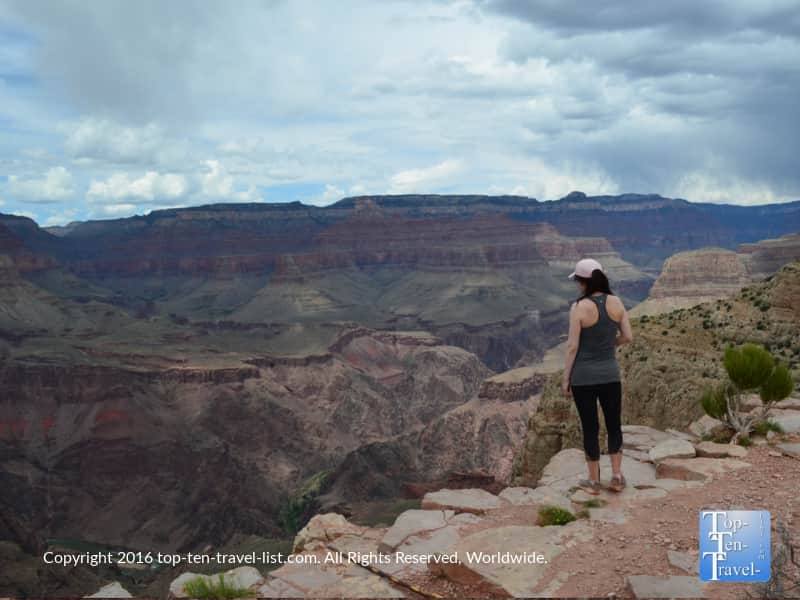
Take it from me – a hiking adventure through the Grand Canyon will be one of the most memorable experiences you will ever have on a national park vacation, if not any vacation. Many visitors are unaware that there are several maintained hiking trails which will take you on a quiet scenic journey through the inner canyon, most of which are short enough to incorporate into a day trip.
To be honest, I never knew that you could hike the canyon until my uncle (a long time Phoenix resident) told me several years ago while I was visiting. Since then, my goal has always been to plan my own adventure. I got a perfect opportunity after moving to the incredible Northern Arizona region. Visiting the South Rim is a spectacular bucket check off experience even if you don’t hike, however, for anyone up for the challenge nothing compares to hiking. It’s a hard feat (only for those in decent shape), but a wonderful experience.
When you are unable to plan an overnight hiking trip all the way down to the river, a day hike is your next best option.
Hiking options at the South Rim
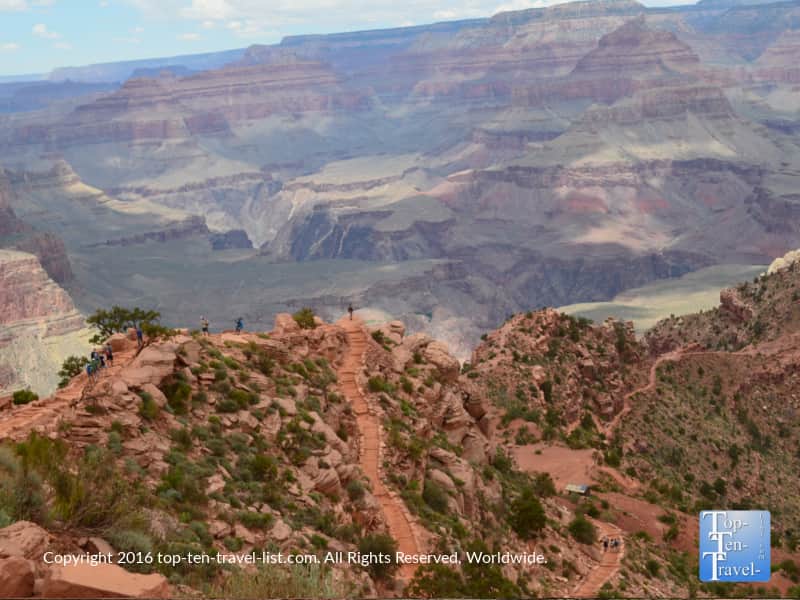
The most popular tourist option (and the one I take visiting family members on) is the Rim Trail, a 13 mile maintained path which gives new visitors an easy way to explore via various overlooks and informative plaques. If you want to take the adventure up a notch, you will find 2 incredible hiking options not for the faint of heart: the South Kaibab and the Bright Angel Trail.
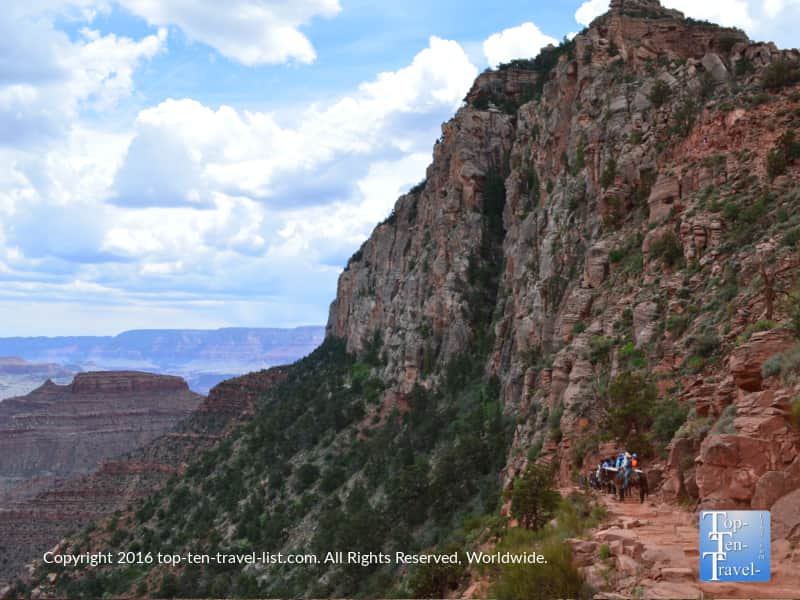
Both of these wonderful hikes have varying stopping points, making them fantastic options for hikers of all abilities. That being said, I would not recommend either of these trails if you are scared of heights. I have family members who are scared of heights and they were terrified on the Rim Trail. I can’t imagine how they would handle the trails that go deep into the canyon. This trail features so many drops offs that it is not a good choice for anyone who fears heights.
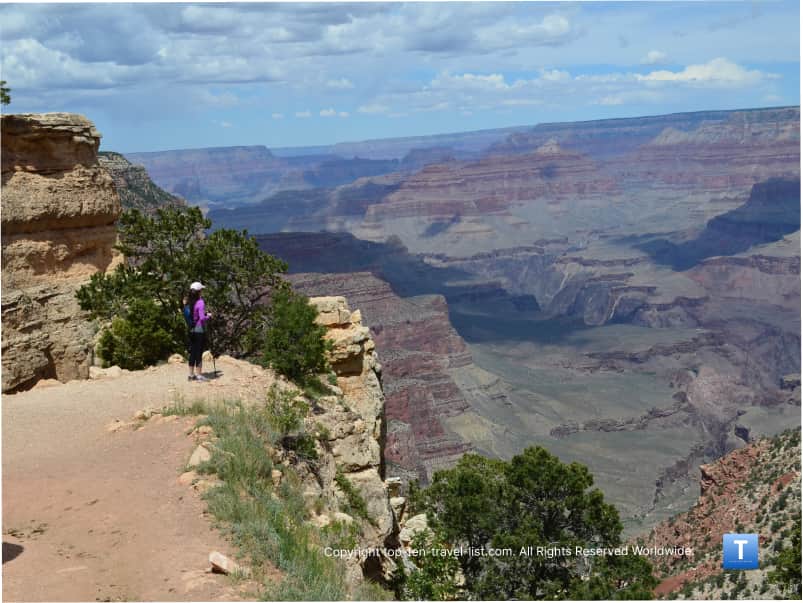
Both trails are much quieter and more scenic than the Rim Trail, with the added advantage of offering more incredible vistas that you would not see from a simple overlook. There really is no better way to explore America’s natural wonder in my opinion. I was in awe the entire hike. Even though my legs were killing me and I was scared about the impending monsoon (see later pics), it was a once-in-a-lifetime experience.
Helen Keller said it best – “Life is an adventure. Or nothing at all.”
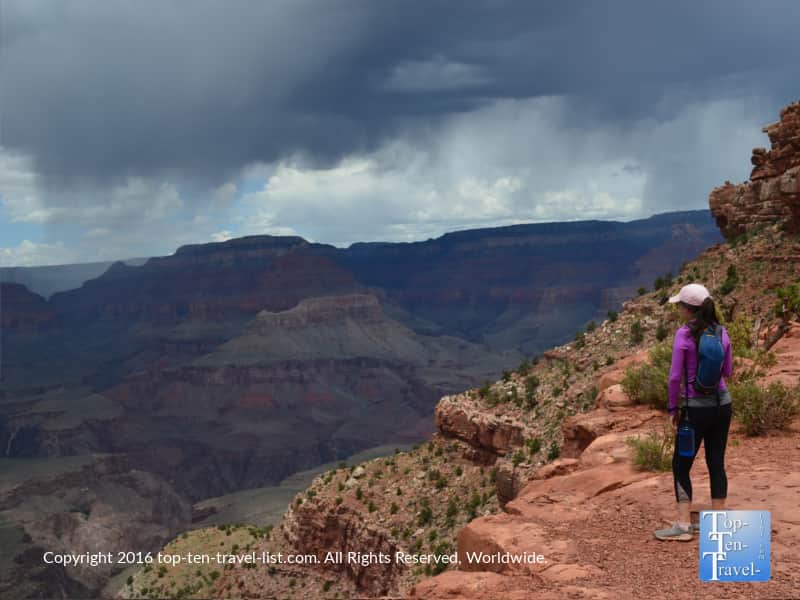
Hiking to the 1st river viewpoint: A long, hard, & rewarding Journey
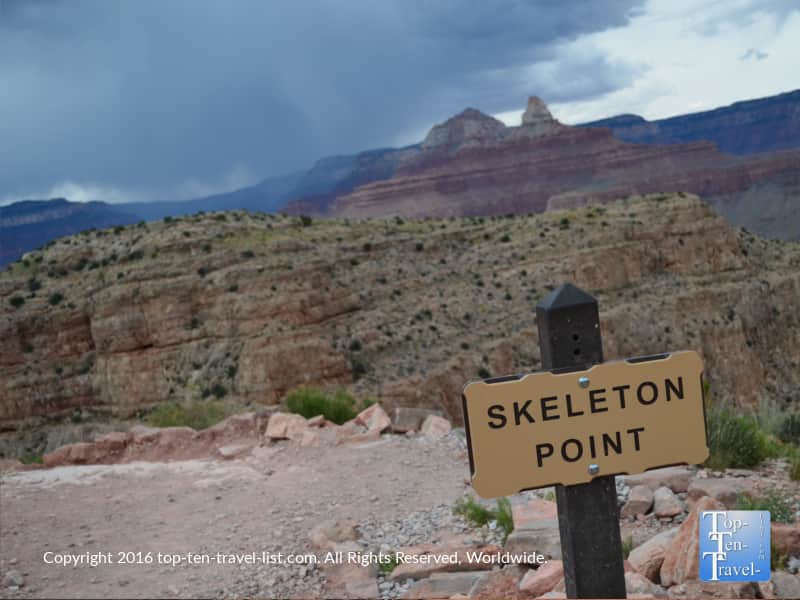
With 3 stopping points (Ooh-Aah Point, Cedar Ridge, & Skeleton Point), this trail is an attractive option for any nature & fitness enthusiast visiting the canyon. The trail basically goes downhill for the first 3 miles out to Skeleton. Remember what goes down, must come up! And boy is the way back up steep! I have hiked a lot of hard trails and the climb on this one was just so intense. Fortunately, we have been hiking a ton of high altitude trails in Flagstaff so this probably helped us finish this tough trek.
Hiking downhill can almost seem too easy, and thus, you may be tempted to go further than your comfort level. Don’t let the easy downhill portion fool you. If you are not in good shape, keep your hike simple and just go out to the 1st turnaround point. Ooh-Aah Point still offers some really stunning panoramas of the area and we saw a handful of tourists turning around at this point. A little bit is really all you need to take in some of the beautiful vistas. I recommend the full hike to Skeleton for anyone up for a fitness challenge and more peace and quiet.
We chose to continue on being avid hikers. I have to admit that this hike was hard and Mike even struggled a bit with the uphill section not knowing if the could finish. We took a lot of breaks, at times with our legs shaking. Let’s just say that we didn’t need to workout for the next week. What is worth all the muscle pain? Definitely! Would I hike it again? In a heartbeat! On a positive note, we did see a handful of rangers out-and-about which made us feel a bit safer.
From easy downhill hiking…
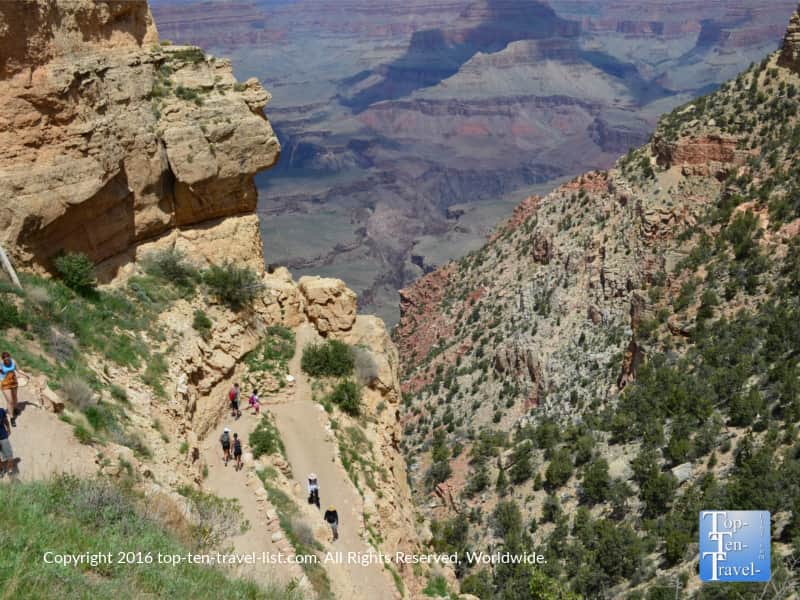
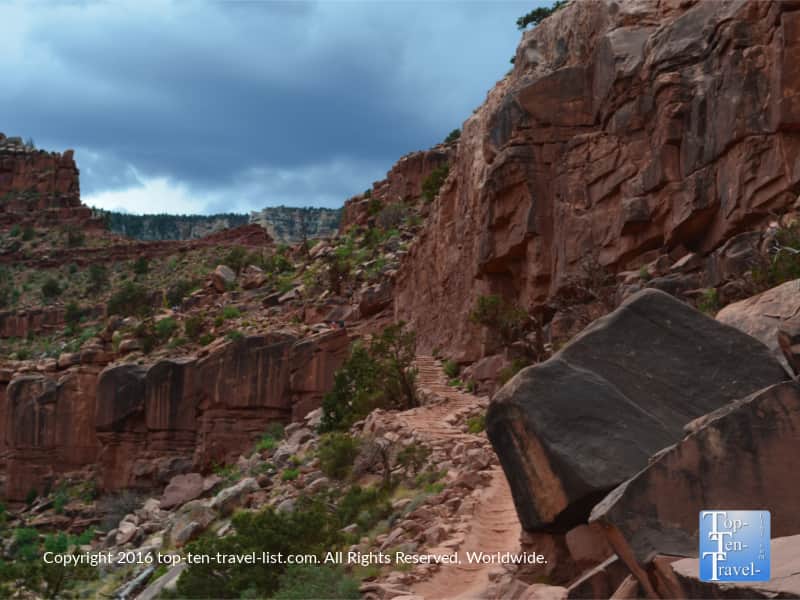
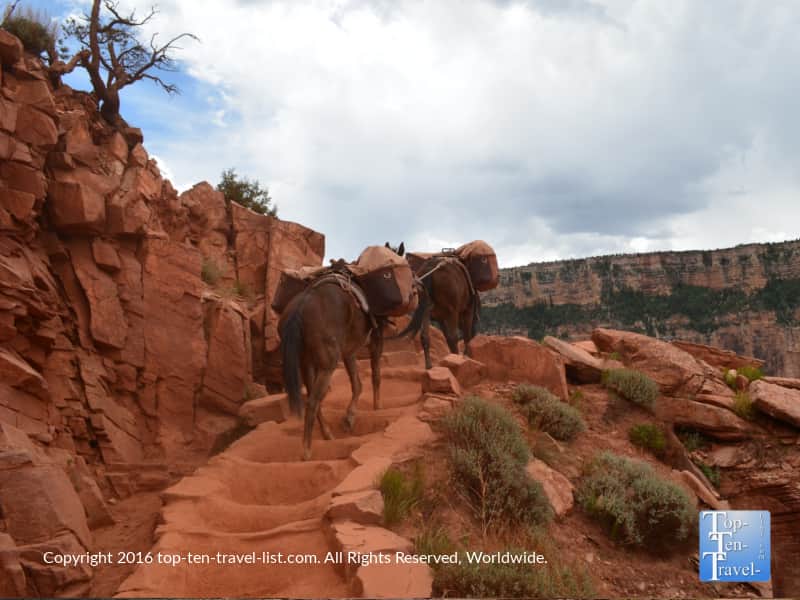
To an intense uphill climb with many stairs…And it goes on like this for quite some time. Not to mention how scary some of the drop offs can be.
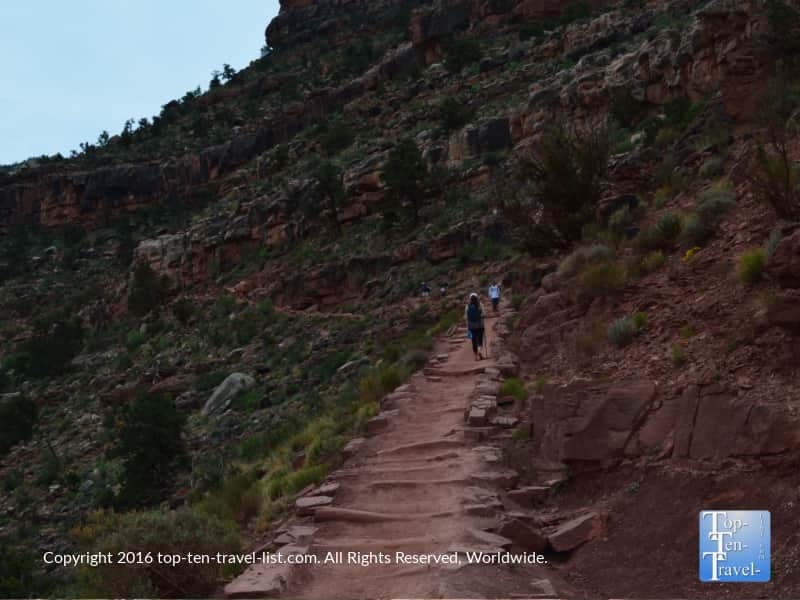
For fitness buffs who would consider themselves in great shape, I recommend completing the entire hike to Skeleton Point. Note that I (nor any health sources) recommend hiking in the summer due to heat/monsoon/dehydration threats. This 6 mile, half day adventure is tough (even for a half marathon runner and regular weekend hiker like myself), yet a very rewarding experience due to the peacefulness and breathtaking scenery that you would never experience solely from looking out at the overlooks.
Cedar Ridge: The halfway point
After the 1st turn around point, traffic dies down and you basically have the entire canyon to yourself. In fact, we saw no more than 10 hikers total after this point. Cedar Ridge is the halfway mark and here you will find a bathroom. Additionally, you can soak up the nice scenery for a bit and refuel with some quick snacks. We took some time to replenish our electrolytes and carb up a bit. Definitely pack your camelbak or backpack with a few snacks. I recommend a trail mix (I like Karrs), mini pretzels, Gatorlyte, etc.
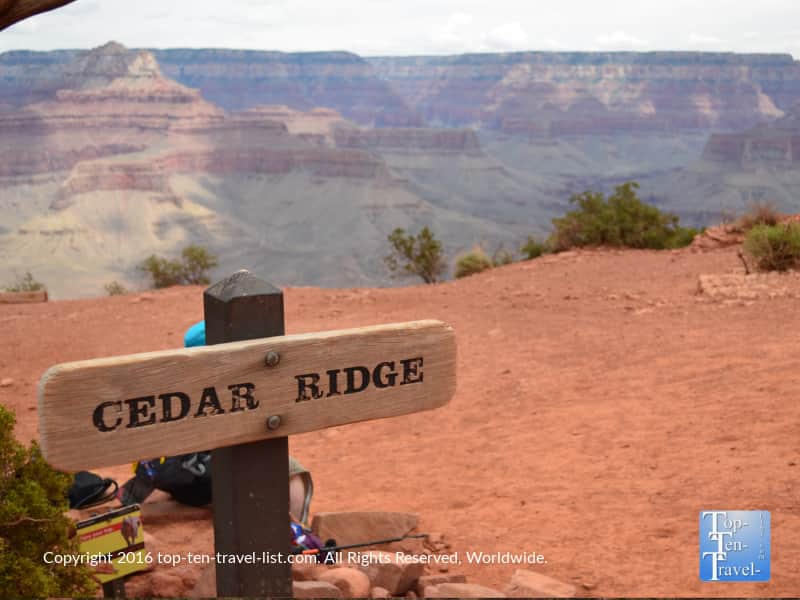
This is also a nice point to just soak in the scenery for a bit. Sometimes when you are focusing walking downhill, you don’t look up enough. Now is the time to enjoy the incredible viewpoints. I really loved the incredible vistas. We sat and enjoyed our refueling snacks in company of amazing views. We took our time and didn’t rush.
Skeleton Point: The beautiful, quiet trek to the first river viewpoint
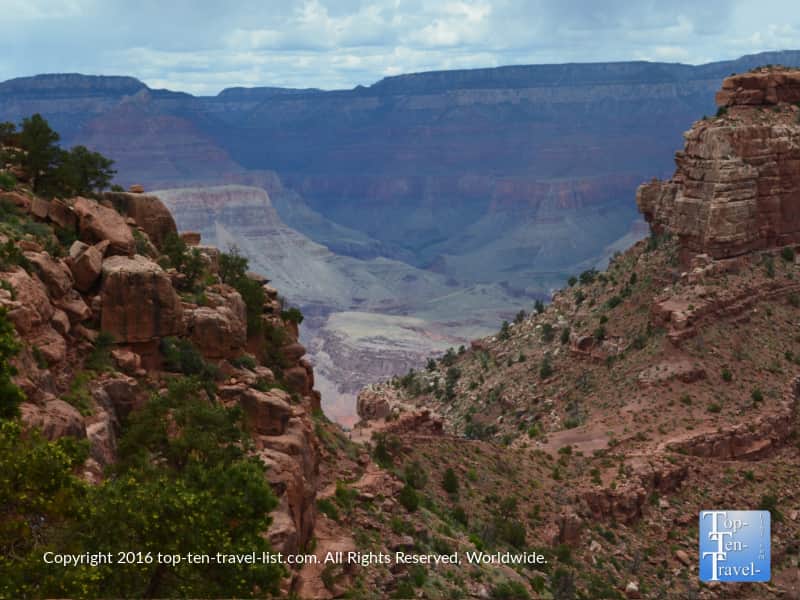
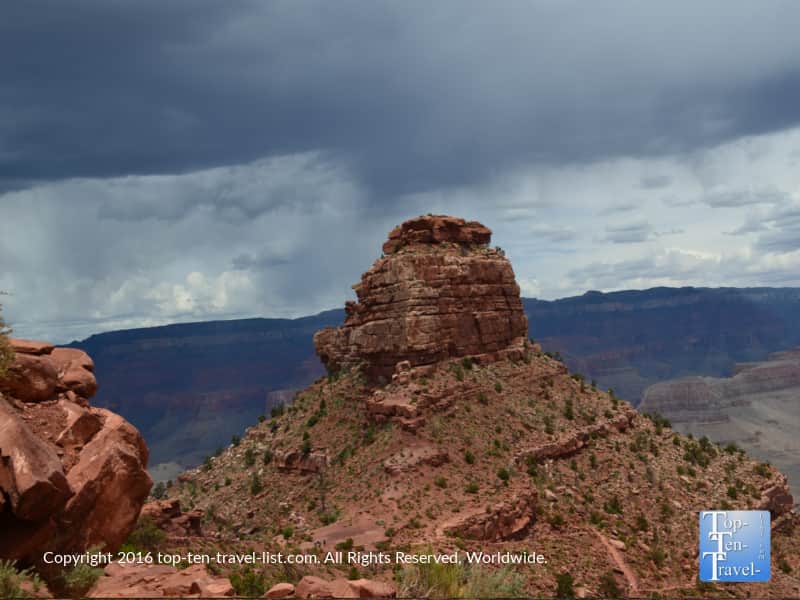
The 3 mile journey to the first river viewpoint is nothing short of spectacular. I don’t think I ever enjoyed a hike so much. Despite the fact that I could barely move my legs anymore, I didn’t want the hike to end. I was scared to death of getting struck by lighting but also fascinating by the scenery.
I recommend a hiking stick for better traction in some of the steeper, looser gravel sections. Take your time so you do not slip.
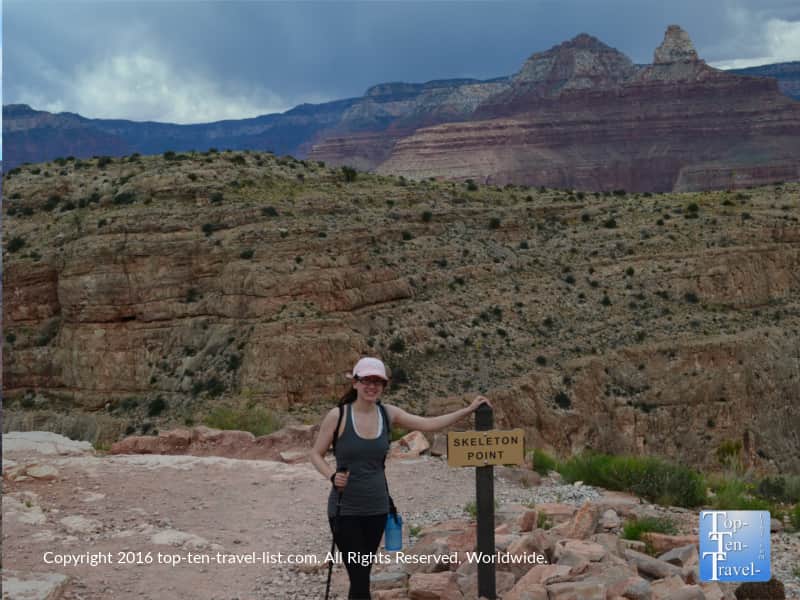
Relax for a bit – you will need it before embarking on the incredibly challenging 3 mile uphill climb back up. This is where the hike gets hard. The downhill trek seems like a breeze in comparison. Seriously, there is not a single break going up – you will be walking uphill for the next 3 miles! Take lots of water breaks, replenish electrolytes with drinks or snacks, and take it easy, keeping in mind you are in a high altitude area where the air is thinner (meaning less oxygen is available).
Even those in the best of shape need to take in easy in high elevation areas. I quickly learned this after first moving to Flagstaff and feeling as if I couldn’t do anything anymore. It all paid off overtime as I eventually PR’d in the Vegas Rock N’Roll half (high altitude training really improves your fitness). If time permits, acclimate yourself to the altitude in the area for a few days beforehand. Also, I recommend reading up on some tips to prevent altitude sickness before planning your vacation.
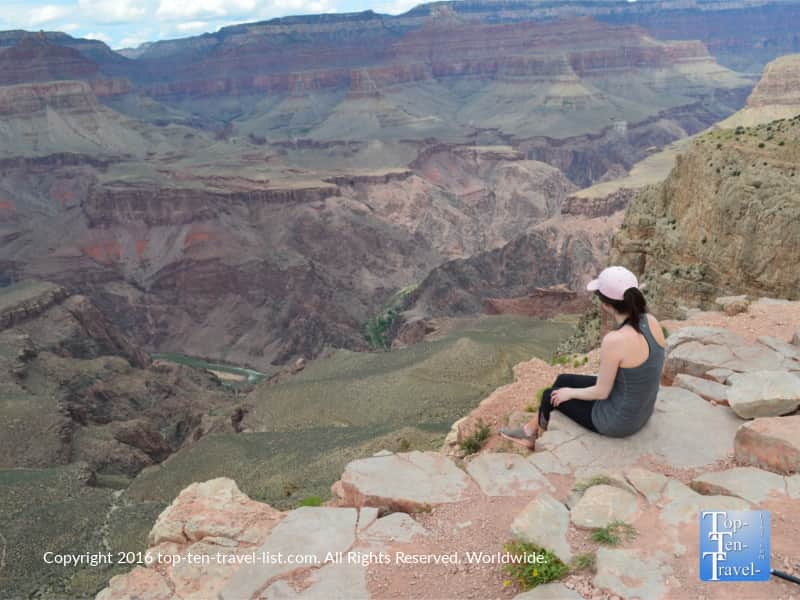
At this river viewpoint, we enjoyed this magnificent viewpoint basically to ourselves (we saw one other guy and his young son – what an accomplishment!). Be proud that you are able to enjoy this stunning river view, thanks in part to your hard effort. And don’t worry if you can’t handle this hard of a hike as simply going out to the first viewpoint is also a major accomplishment.
Summer isn’t the best hiking season: Be aware of crazy summer monsoon storms!
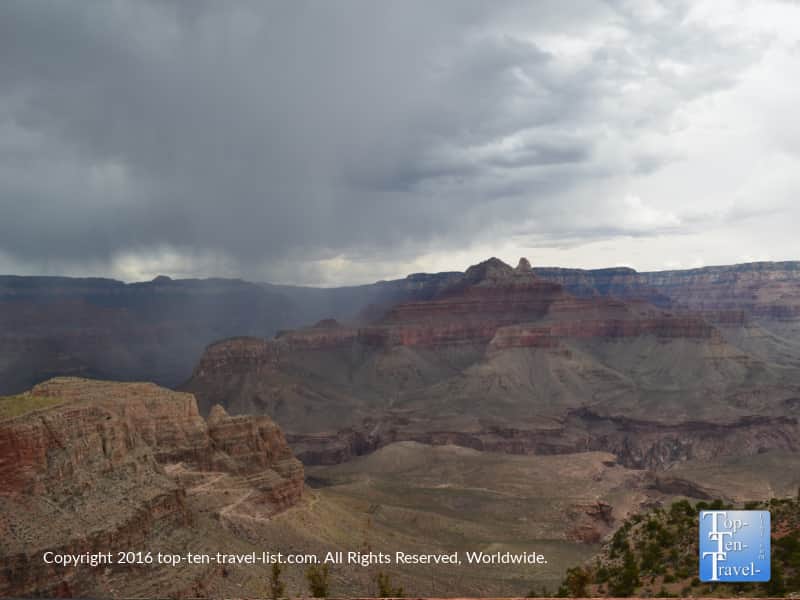
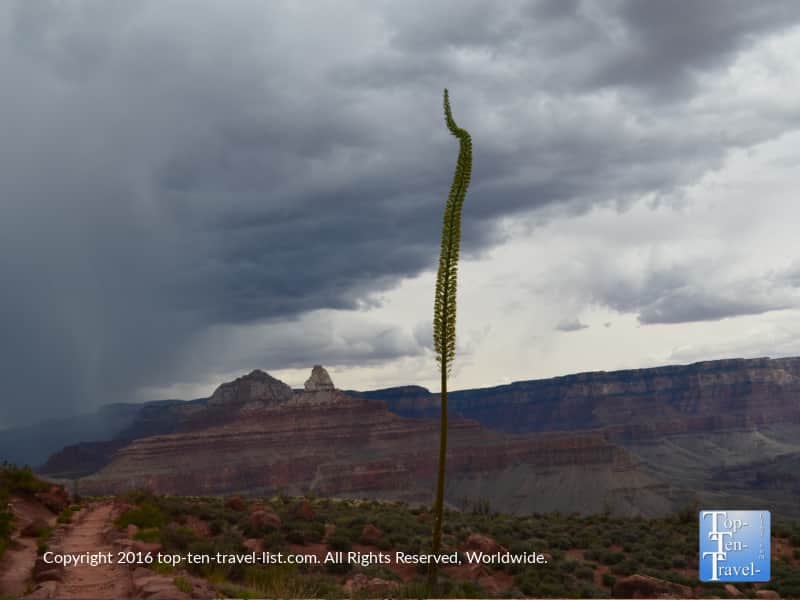
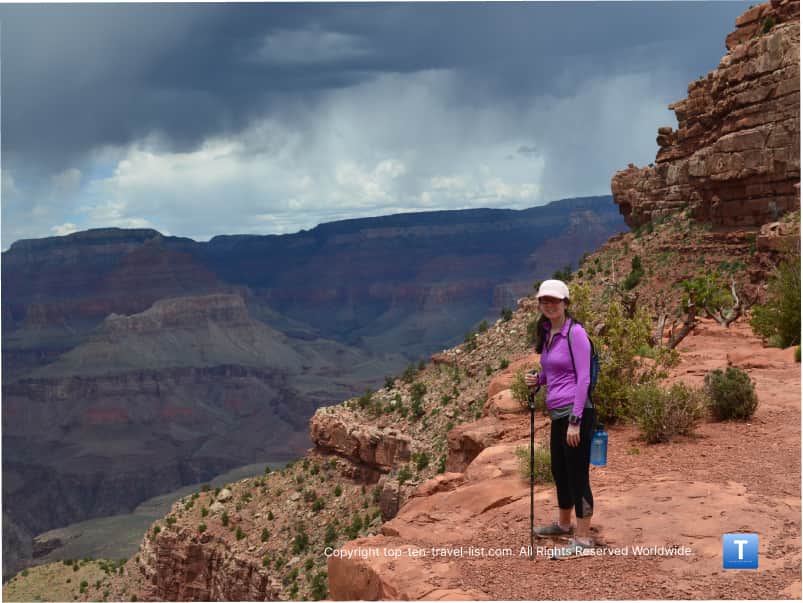
Luckily, we were able to finish our hike just before a freak monsoon hit, so we got to enjoy some incredible stormy scenery. The cooler temperatures & overcast skies made our summer hike a little more tolerable, especially when going uphill. I’ve been rained on hard on pretty much ever summer visit to the canyon, so know that this is a strong possibility this time of year.
Most rangers recommend avoiding summer hiking due to random monsoons. Ours came on so randomly; we never would have expected a storm due to the sunny conditions prior to our start. Also know that lighting strikes have killed numerous hikers. I recently read this great book called Death at the Grand Canyon and some of the stories are pretty scary.
Despite it being dangerous, we were able to capture some pretty cool and rare photos.
Why you should hike the canyon
After your hike, you will surely agree that you got in a fantastic full body workout for the day. In fact, you will likely be too sore the next few days to do much of anything. I took a full week break from any exercise to let my legs heal. Nevertheless, the trek is worth it for the outstanding views and once-in-a-lifetime opportunity to explore the canyon in such an isolated setting.
Too many visitors come and go without even knowing that these wonderful trails exist. Completing even a short section of one of these trails is really recommended for the tremendous photo opportunities and opportunity to explore one of nature’s greatest creations in such a desolate setting.
While taking pics from a few overlooks along the rim trail still makes for a worthwhile canyon trip, nothing compares to an adventurous hike inside the canyon. Out of the trails available, the Kaibab offers the nicest viewpoints in the shortest distance.
How long will it take to hike to the river?
The park estimates that it will take the average hiker about 3-5 hours to complete the entire trail. For 2 regular hikers in good shape, with several rest & photography breaks, it took us about 2.5 hours. Plan more or less time depending on your current activity level & overall fitness ability. Plan twice as long going up due to steep staircases like the one shown below.
The history beyond the name
You are probably wondering how the weird name came about. We learned that skeleton refers not to the high number of human deaths along the trail, but rather for the number of mules that have died. One would think there would be at least a few falling casualties due to the steep drops offs, however, this is not the case.
Interestingly, most deaths and injuries on this trail (and elsewhere at the Canyon) result from dehydration, overexertion, mule collisions, and lightning strikes. Sadly, most of these accidents could be avoided with proper planning & preparation. As I mentioned earlier, for an interesting read, pick up a copy of Over the Edge: Death at the Grand Canyon, available in gift shops or Amazon. I was totally absorbed in this book and finished it in a week even though I typically take forever to finish a book.
What to do if you see a mule on the trail
When you see a mule on the trail (and you will likely see several tour groups as they share the same trail as hikers), be sure to get out of the way in advance by moving as far to the side as possible and staying put until they are out of sight. As you can see there is little space to share, so definitely stay focused and move right away. This is often a bit scary as there is no room but know that mules always get the right of way. This is so they do not get frightened.
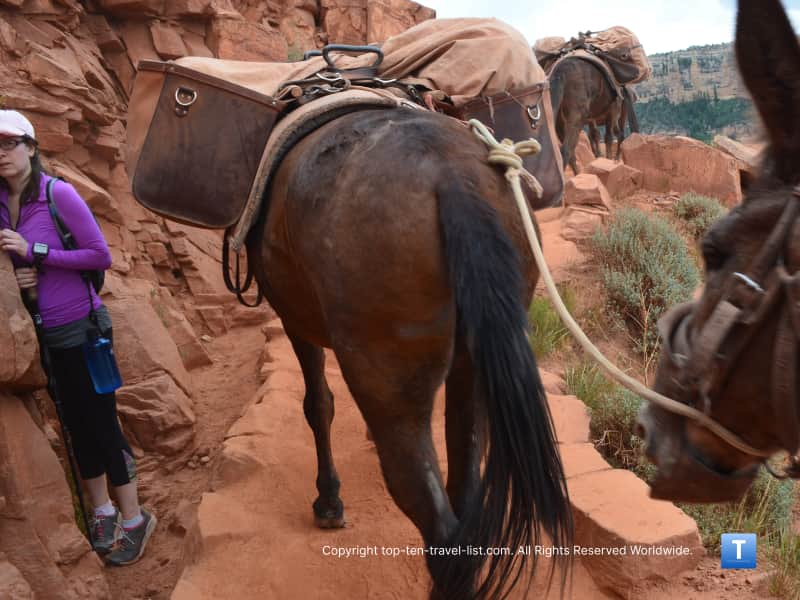
Interestingly, I read in the Death at the Canyon book that no one has ever died while riding a mule. I find that astonishing as you would think their behavior would be unpredictable. Personally, I prefer hiking and controlling where I walk myself. For anyone interested in a ride, definitely book in advance. Learn more about mule trips on the Canyon website.
Mule rides vs. hiking
Hiking is obviously more budget friendly although a guided mule ride is more a once-in-a-lifetime experience. Even though mules are sure footed and no tourists have died, I would advise those scared of heights and very steep drop offs to pass. I can imagine being terrified if you are afraid of heights as you relinquish all control to the animal.
Hike or mule ride, exploring the gorgeous canyon via a hike or guided ride is recommended.
Wildlife on the trails & plantlife
Many mammals call the canyon home including bighorn sheep, mountain lions, deer, and elk. Sightings are rare. Keep a safe distance from all wildlife.
The extent of our wildlife sightings…The Albert Squirrel
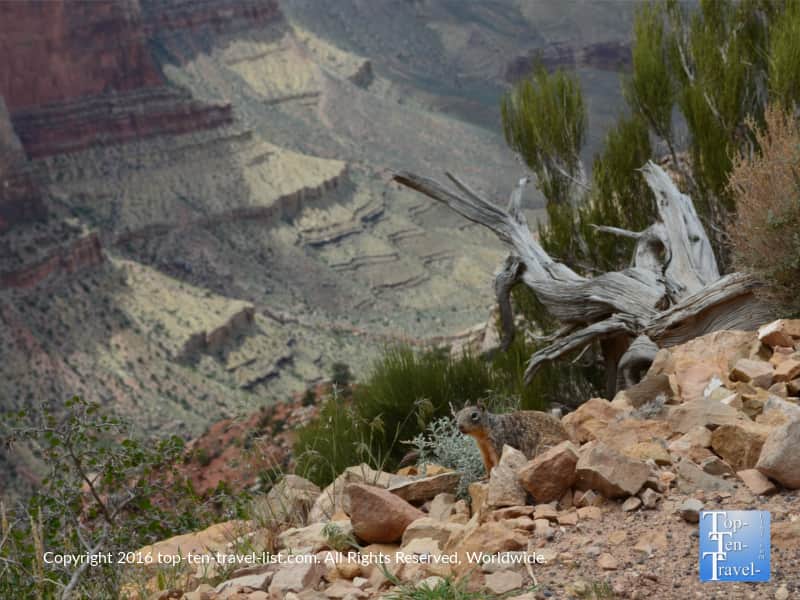
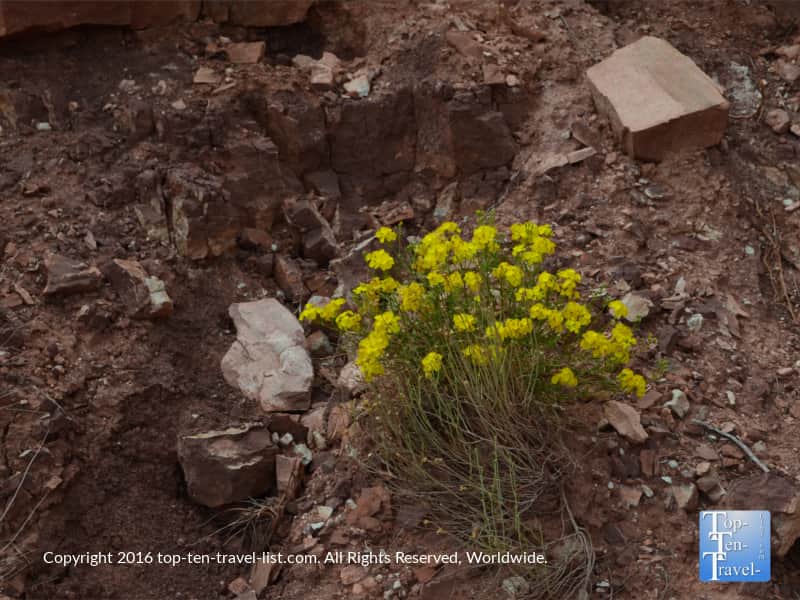
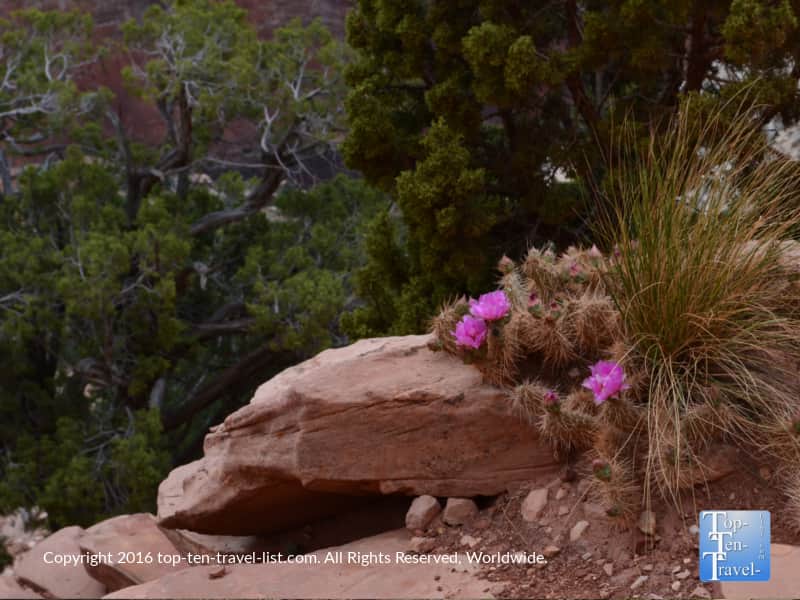
The South and North Rim are both home to a diverse variety of plant life due to the drastic change in elevation from the river to the North Rim. You will find just about everything including desert scrub, riparian, pinyon pine and juniper woodland, ponderosa pine, and Montane meadows and subalpine grassland communities (only at the North Rim). Also, many wildflowers inhabit the canyon (over 600 species).
Tips for a great hike
Most hikers underestimate the intensity of high altitude hikes, especially when combined with extremely hot and dry summer conditions. Here are a few tips I’ve compiled for a smooth visit.
*Start your hike as early in the morning as possible. The temps will be cooler, there will be less people on the trail, the line to get in will be shorter, and finding parking will be a much smoother, less time consuming experience (especially true during the busy summer months).
*In higher altitudes areas, you should be snacking more and drinking plenty of extra water. Wear a hydration backpack (fill up at a spring water station located at various points throughout the park including the start of the trail) and load up your pack with lots of electrolytes and salty snacks to balance your water intake.
*Eat a full breakfast before your hike and eat lunch afterwards to refuel your body with lost minerals. Note: there is no water along the trail, so fill up before you begin! If you are coming from Flagstaff, there are a lot of great restaurants in town. I recommend Brandy’s or The Toasted Owl for breakfast. For lunch, there is cafe style dining or fancier restaurants like El Tovar along the Rim.
*Wear appropriate hiking attire, including quality hiking shoes. Dress in layers.
*Carry a hiking stick for extra balance. This will help you with some of the steeper downhill portions as you go over loose slippery gravel.
*Apply plenty of sunscreen even on overcast days as the sun is much more intense at this elevation (7000 ft) and the possibility of getting burnt exists even on the cloudiest of days.
*Keep your backpack as light as possible. The extra weight will leave you with sore shoulders and an aching back the next day!
*Check the forecast during summer monsoon season. If the forecast calls for heavy rain, plan your trip for another day if possible. If you decide to head out, stuff a light rain jacket/poncho into your backpack to be on the safe side. Also, keep your hike short.
*Be aware that weather can change very quickly during the stormy summer season. Also be aware that sudden weather changes are much more likely in high elevation areas. We got caught in a massive storm, despite the fact that the forecast called for very little chance of precipitation.
*Remember that this trail offers virtually no shade, so a hat and/or sunglasses would be a smart idea.
*Rangers recommend not going past Cedar Ridge during the summer months due to the intense heat, dry air, little shade, and increased risks of dehydration. Save the full hike for the cooler spring or fall season.
*Most importantly, do not venture out any further than your ability level permits. The hike appears easier when hiking downhill. The trek is well-maintained and easy to follow, yet very steep. Also be aware that hot sunny days with temps often into the high 90’s+ make for one miserable hike.
On a cloudy, 70 degree spring day, we were still overheated. The sun itself makes the hike feel much more difficult, especially when climbing uphill. If possible, plan your hike during the cooler spring or fall seasons and check the forecast for an overcast day.
Read more about this fabulous hikes and others at the Canyon
Where to start the trail
You must take a shuttle bus to Yaki Point to begin. You can access the shuttle from various locations along the Rim Trail. I recommend parking at the visitor’s center and taking the shuttle from here. The Shuttle service is a free & convenient means to get around the park. Rides are included with admission. Use it since you paid for it with your admission.
General Admission
Fees are $35 per vehicle, good for both the North and South Rim for 7 days. I recommend an Annual Pass ($80), which easily pays for itself if you intend on visiting other national parks within a year time frame. Pricing current as of 2025- check the national park website for updates.
Lodging choices
Staying on-site is the most convenient option, especially if you are hiking. This will enable you to get up earlier for your hike before the afternoon sun and crowds, not to mention avoid a lengthy morning drive before venturing out on a long, tiresome hike. There are 5 choices within the park, although they often sell out months in advance (especially during the summer season), so book your hotel as far in advance as possible.
Other nearby towns with lodging include Tusayan (just one mile from the canyon with free shuttle service), Williams (about an hour’s drive and home to the iconic Canyon Railway), and Flagstaff (1.5 hour drive). Flagstaff is a popular tourist destination. There are many restaurants, beautiful hikes, and great attractions found within this charming mountain town, however, you must be prepared for a lengthy drive in the morning.